
If you want to customise the URL you access your Inteleagent account from, you can easily do that.
Here are the instructions on how to customise your URL 👇🏼
Now let’s get a bit more into it and explain how this is done, with examples.
Assumptions
Let’s say your
Agency name: Demo Agency
Agency URL: demoagency.com
Your account custom URL you want to setup: app.demoagency.com
Process
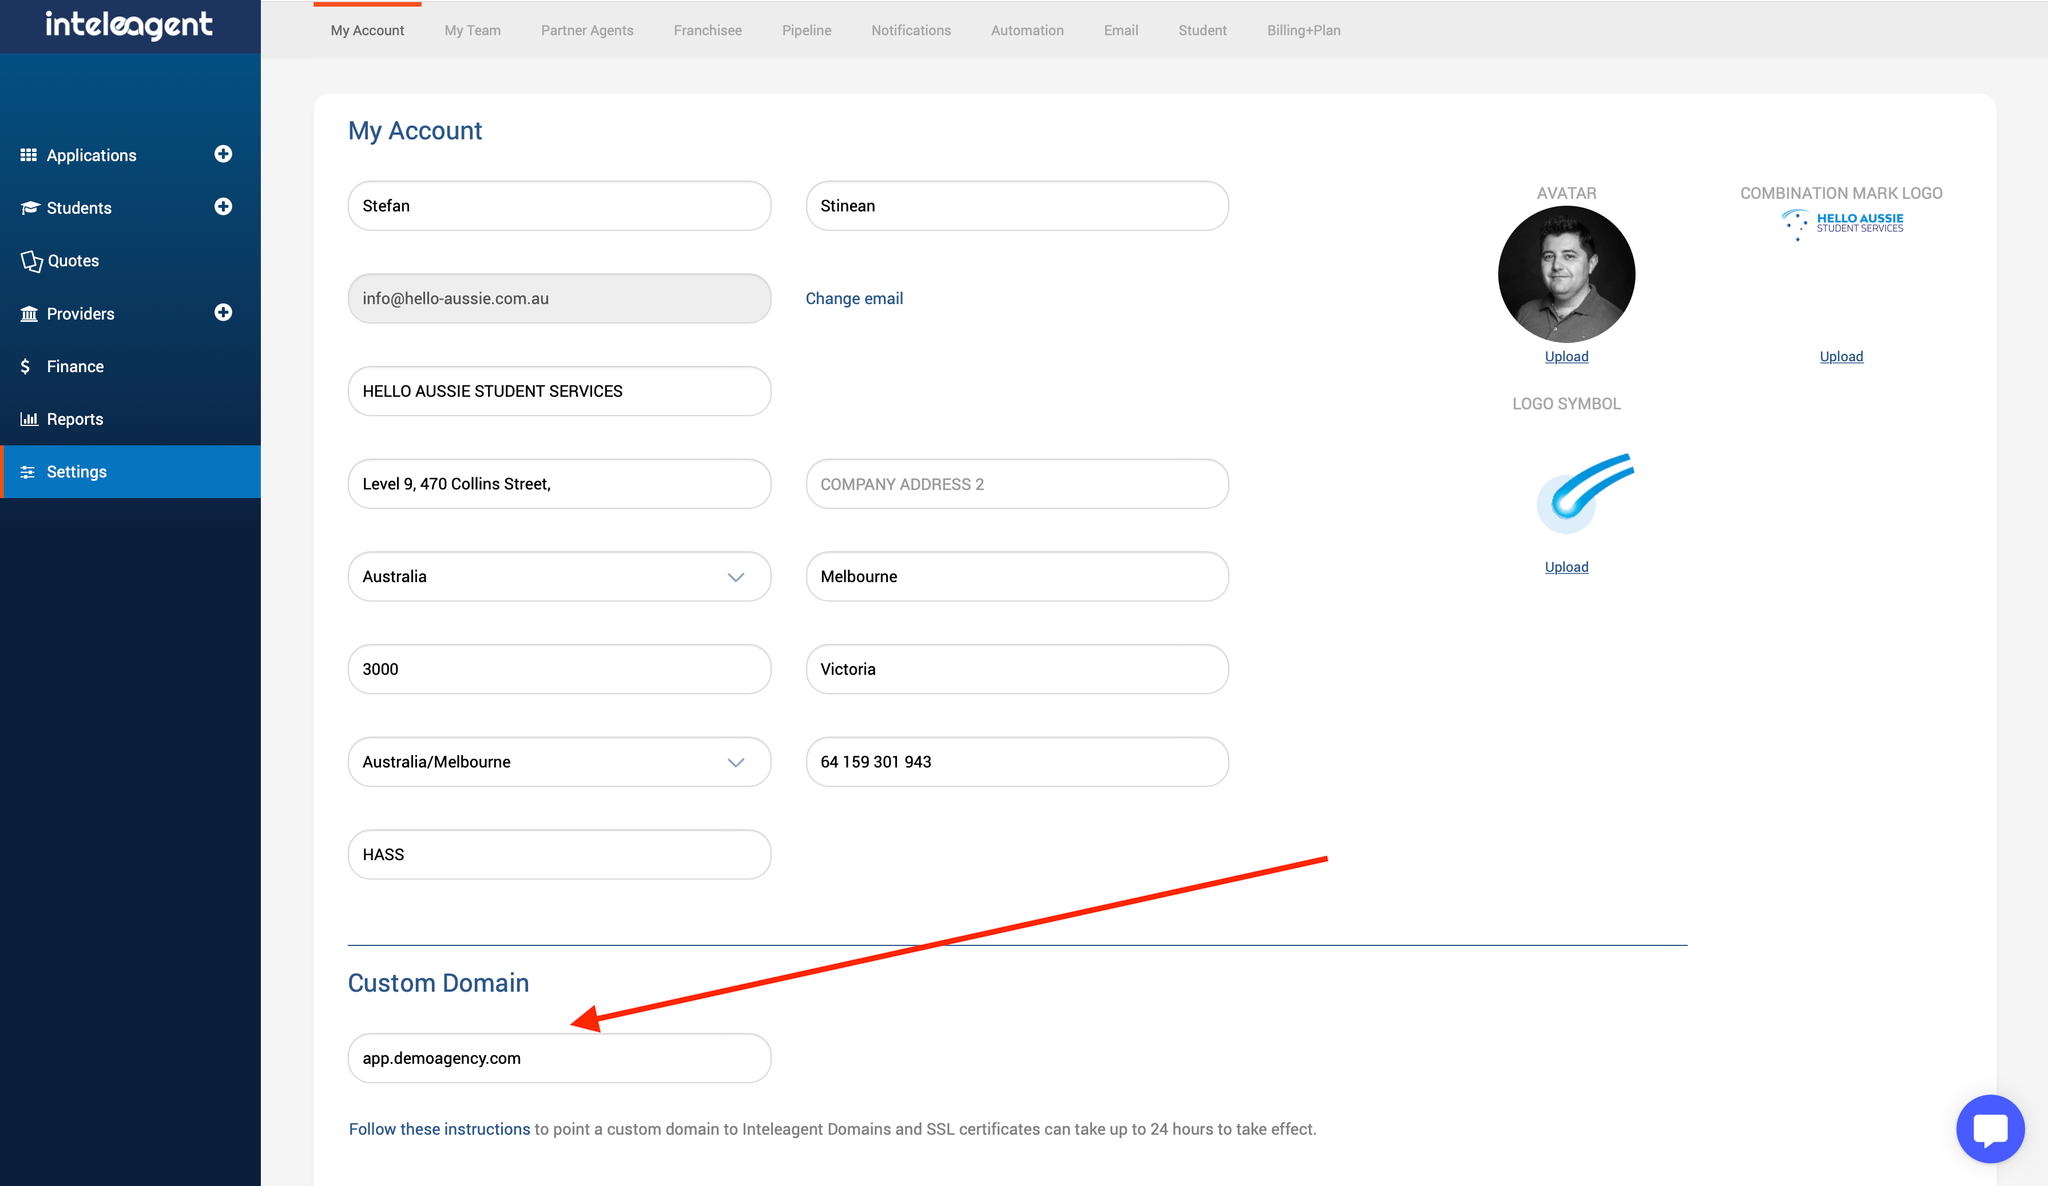
Step 1. Add a custom URL in the field in Settings→My Account
The first step you need to perform is to add demoagency.com in your Inteleagent account. Go to Setting → My Account, and you’ll notice the Custom Domain section. Write down app.demoagency.com in that field. 👇🏼
Step 2. Add a CNAME record in your DNS settings
If you are a non-technical person, the best approach to this step is to ask your domain hosting provider to add the following CNAME record for you:
Name: app.demoagency.com
CNAME: custom.inteleagent.io
- demoagency.com is your current domain you own.
- “app” is just an example of how you may want your custom URL to appear like. You could replace that word with what ever other word you want. For example, you may want your custom URL to appear as web.demoagency.com. If that’s the case, replace the word “app” with the word “web”.
If you’re courageous enough to do it yourself, here are a few popular domain hosting providers and how to add a CNAME record in the DNS settings for them:
Otherwise, ask your web developer to do it for you, or maybe your web hosting provider.
Step 3. Ready to use
Go to app.demoagency.com and login to your Inteleagent account 🥳
If you need help or have any questions, don’t hesitate to get in touch: support@inteleagent.io