
IN THIS ARTICLE:
Basic Setup (5 minutes)
Follow our Walkthrough Tutorial to get up & running with Inteleagent’s basic features in a few minutes!
By the end of this section you will know how to:
✅ add education institutions from the Inteleagent database
✅ create your first application
✅ personalise your Inteleagent account
Use the "Get Started" checklist to help you along the way. 👇🏼

Import your students data in Inteleagent?
or,
- Watch this video.
Populate your account database with Providers
Click on the GIF to view the process better
- Import from our database
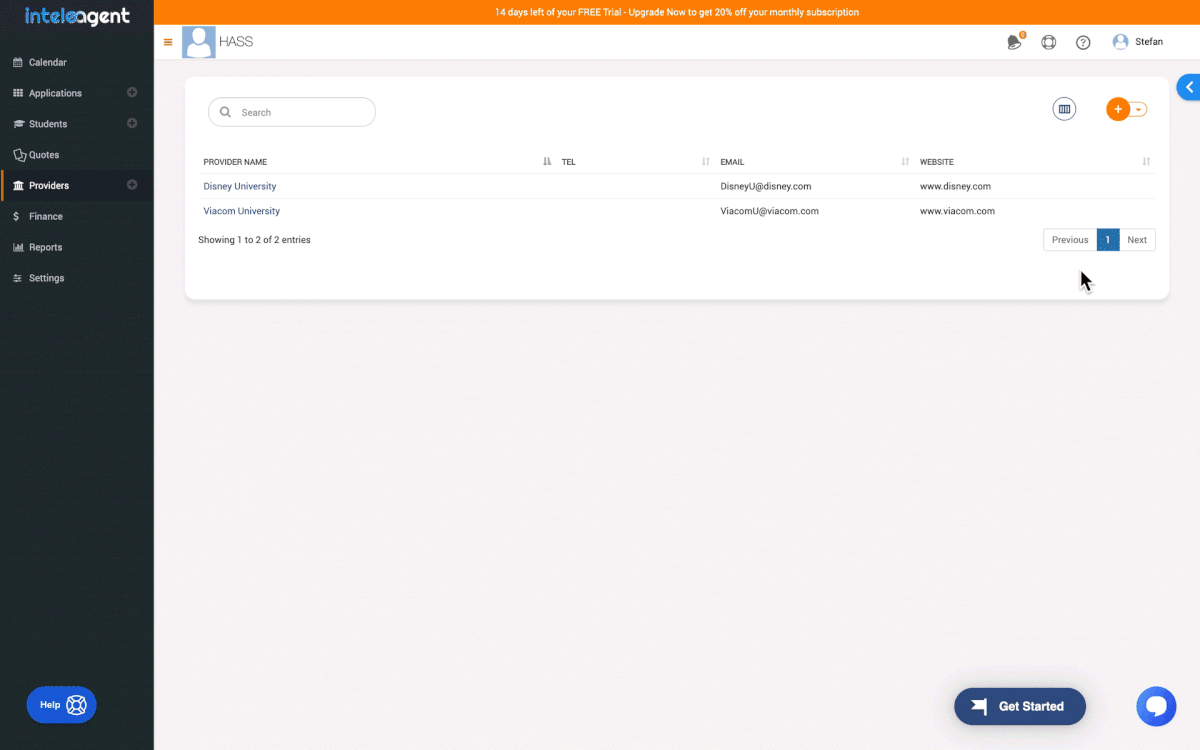
- Import from a csv
- Add Providers one-by-one manually
Create your first application
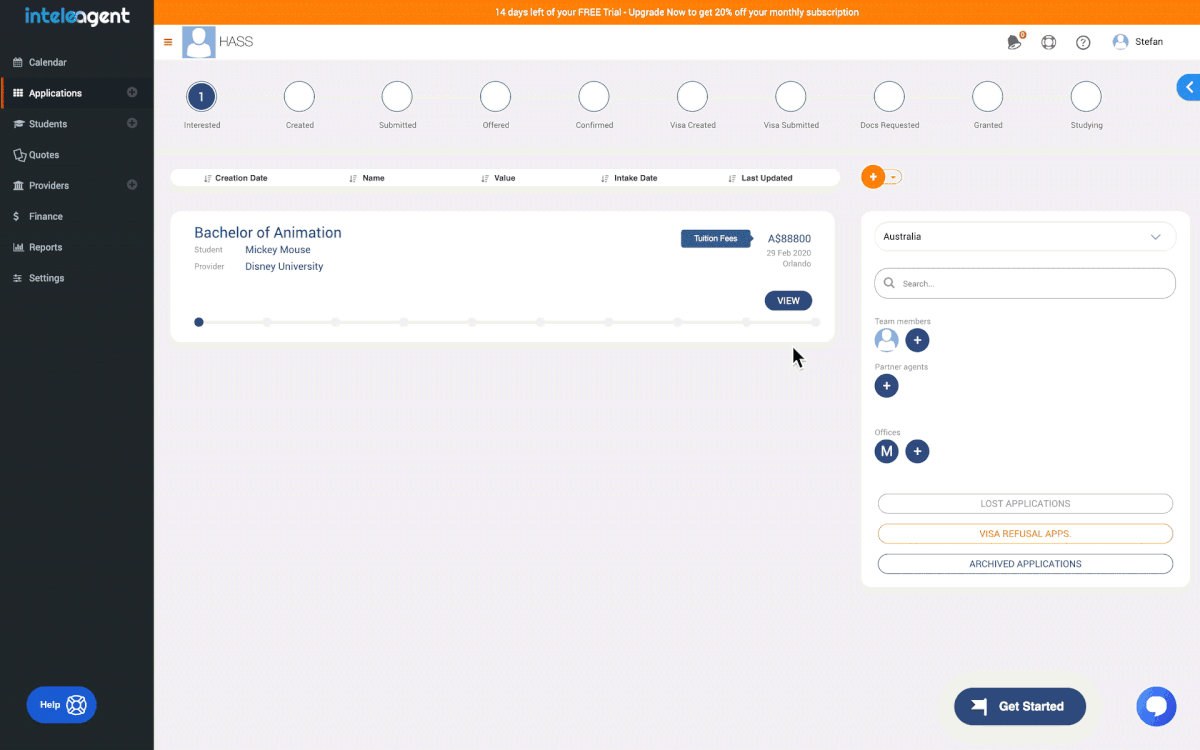
Now that you populated your Providers database with education institutions, and created or imported students in your account, it's time to create an application. Here's how you do it:
Get your team involved
It's time to invite your team to Inteleagent. As you signed up for Inteleagent, you must be the Owner. Nice to meet you! 😊👋🏻 Inteleagent comes with three user role permissions: Owner, Manager (to run your office branches), and Education Advisor. You'll be able to choose the role of your team member in the process. Here's how to invite a team member to Inteleagent:

Get in touch
Our support cannot be matched by anybody! We are with you every step of the way. You can check out our Knowledge Base, give us product feedback, report bugs 🐞 (if any), request features, etc... You can also reach out through the Messenger with any questions you might have. 👇🏼

We would love to show you around Inteleagent and what it can do for your education agency. Please book a time with us below: