IN THIS ARTICLE
In Inteleagent, you can streamline your education agency's operations with your very own Student Portal.
Giving a student access to his student portal
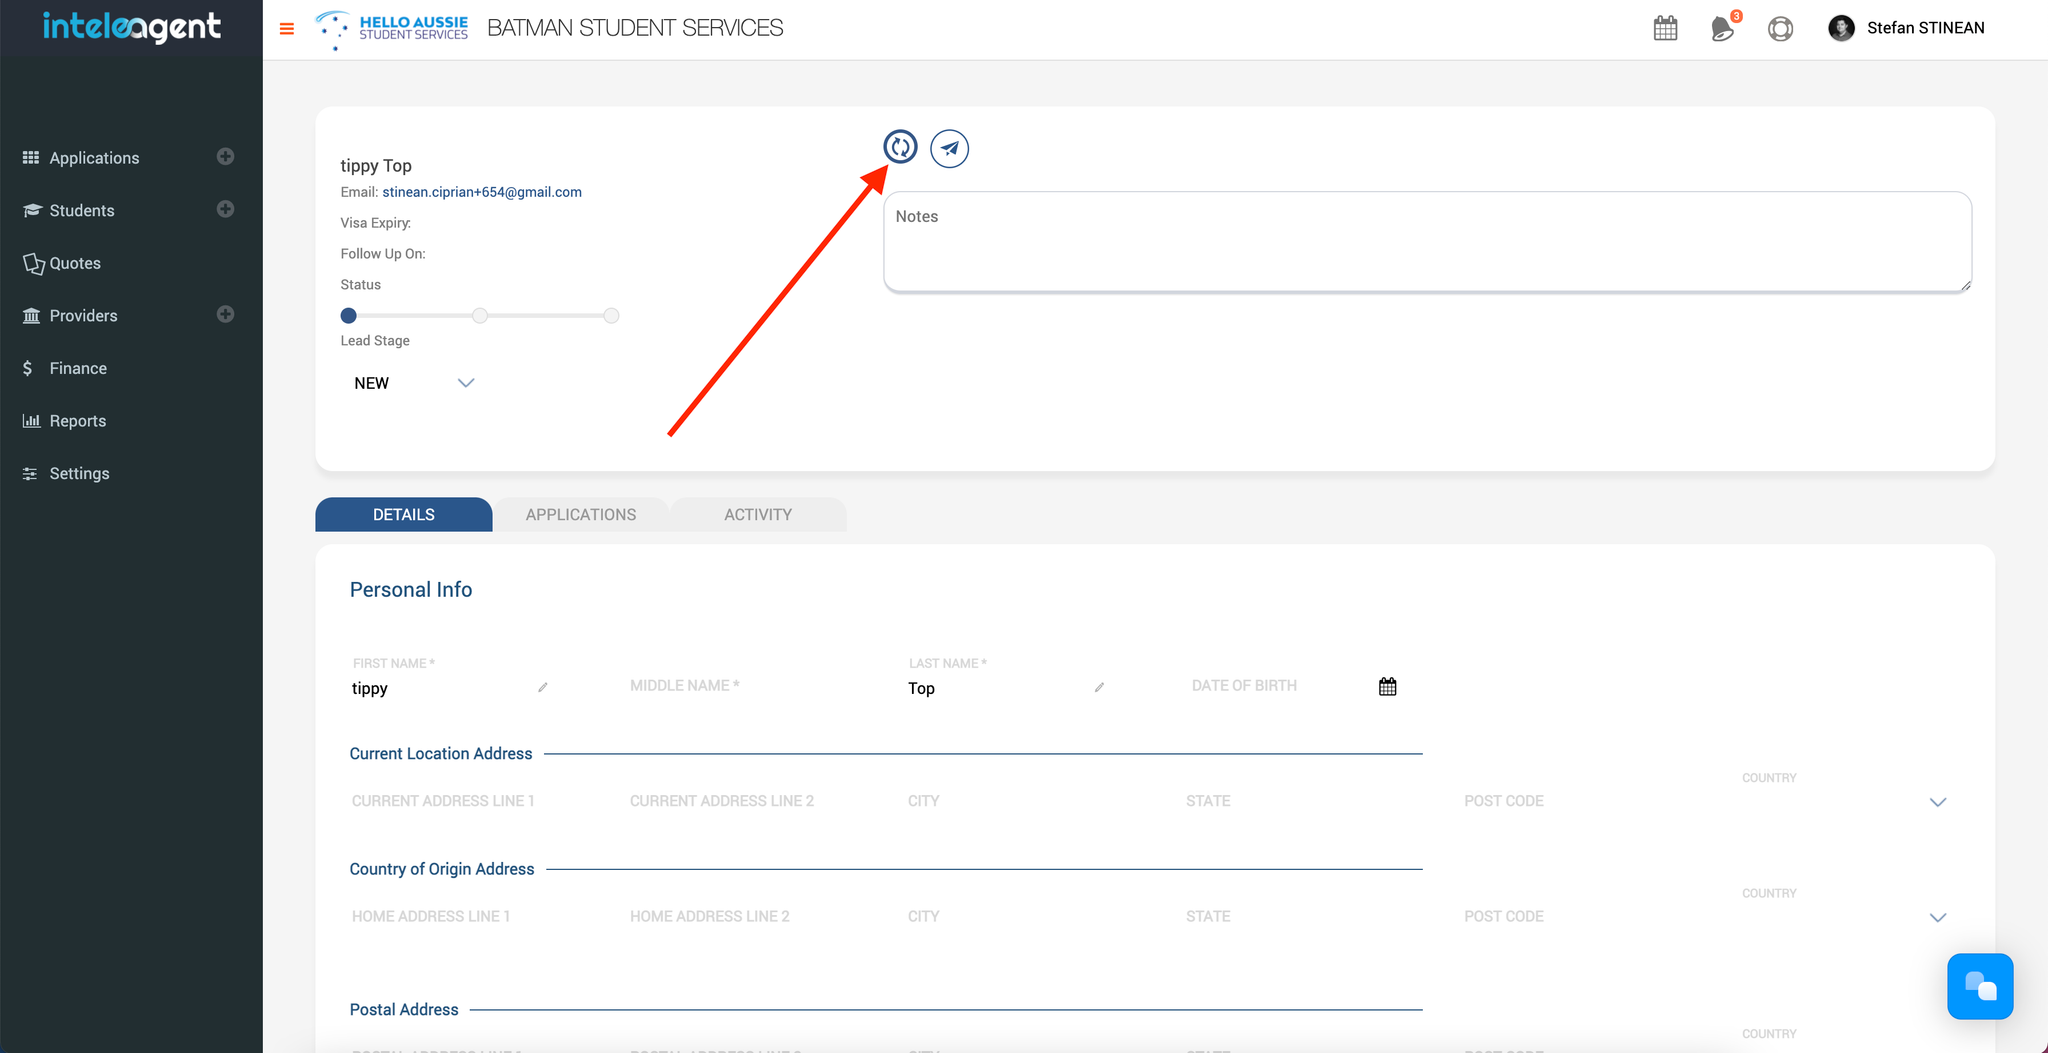
Once you have created your lead contact/student in Inteleagent, you can invite the contact to access their very own student portal. All you have to do is click on the button at the top of their profile 👇🏼
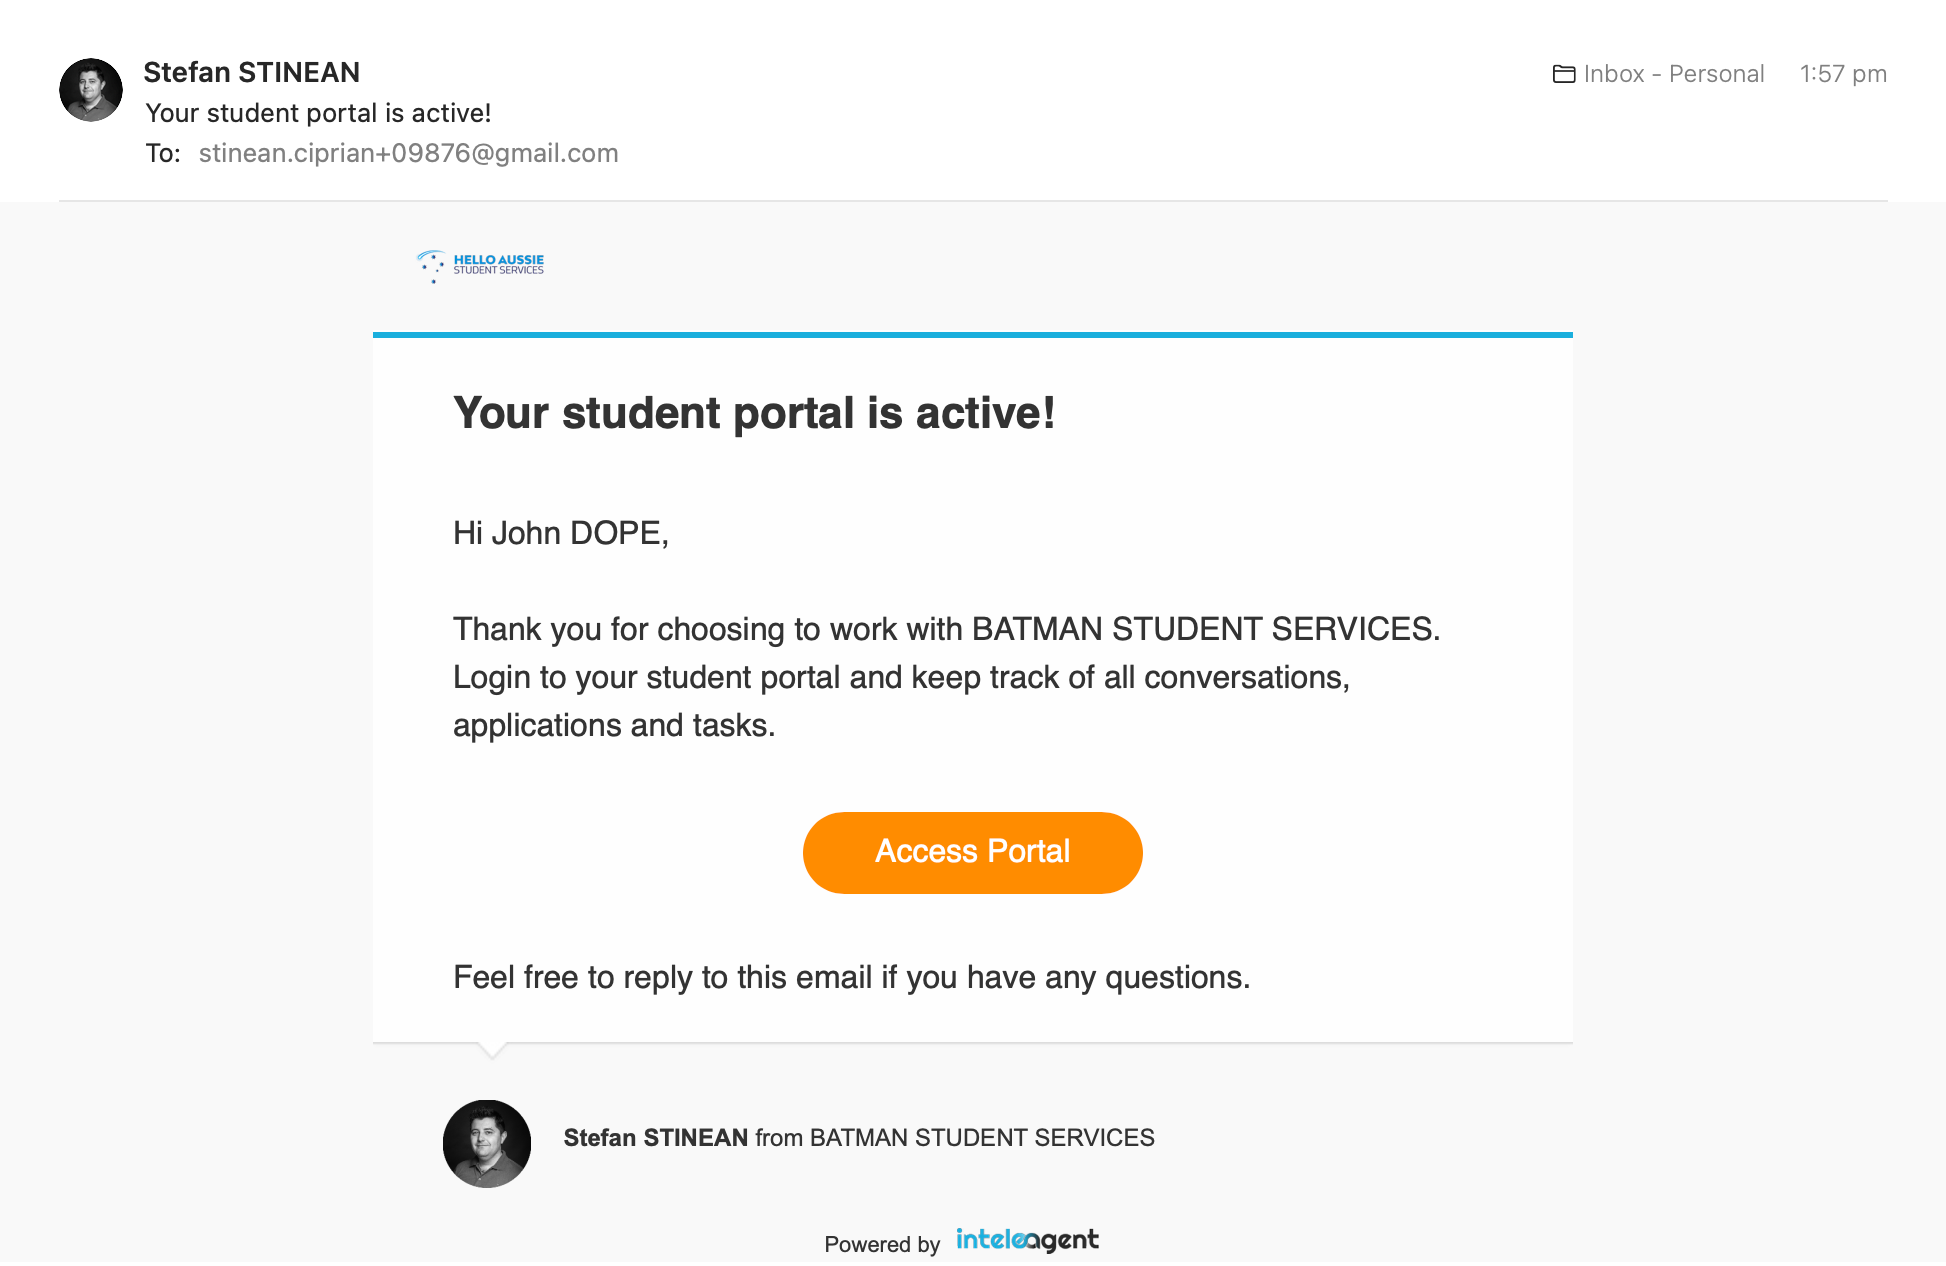
Your lead contact / student will receive an automatic email from your Inteleagent system 👇🏼
When the student clicks the Access Portal button, the system will ask him for his country of passport, and will be asked to create a password.
Revoking access to a student portal
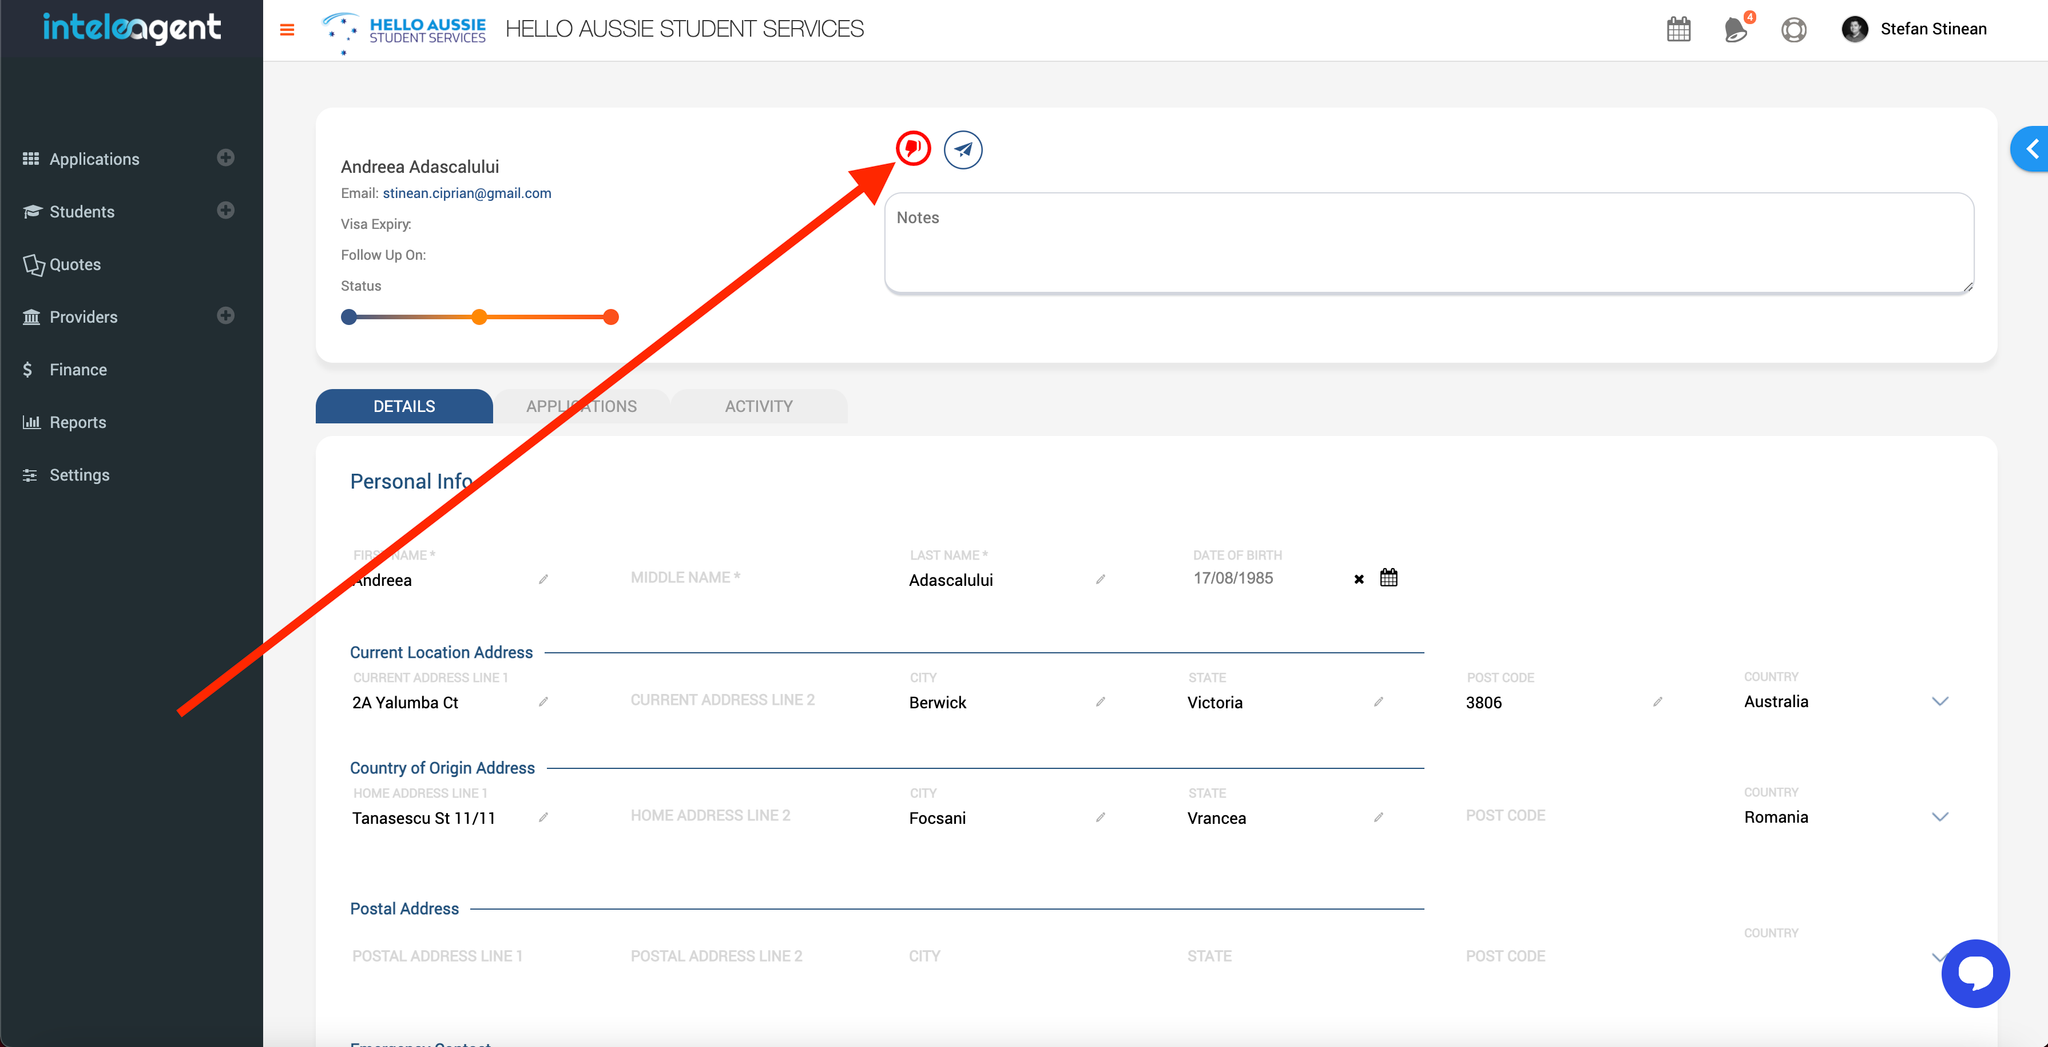
As an education agent, you have full control over the student access to his portal. You can always revoke access to the portal with ease.
Student portal tabs
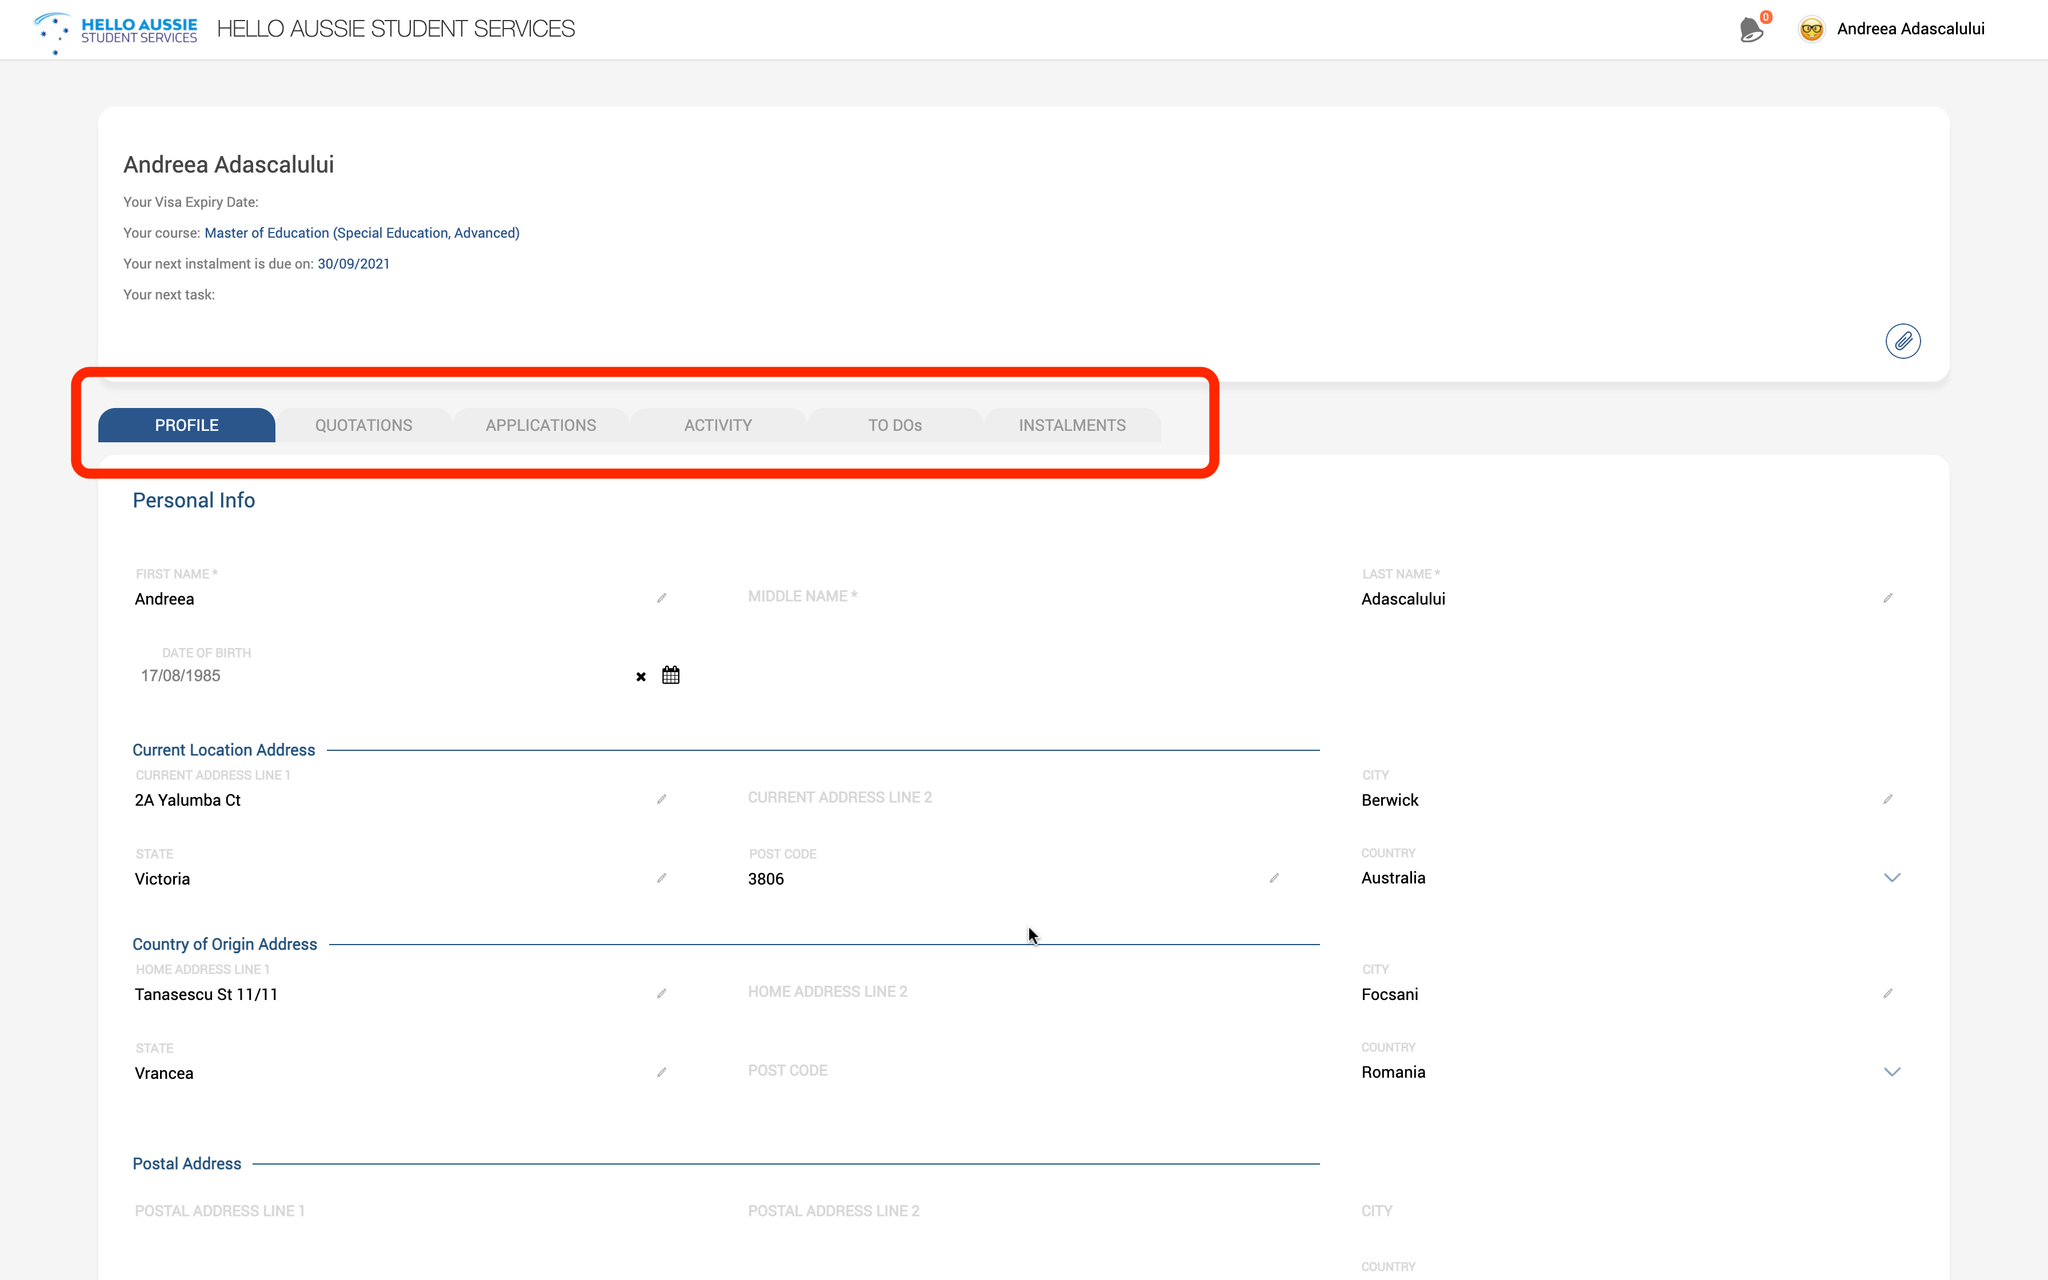
In his portal, the student will have access to the following tabs:
Details
Quotations
Applications
Activity
To Do
Instalments
Email Notifications
There are a lot of notifications for both yourself as an agent, and the student, already embedded in the system such as:
- when a document is uploaded by the student
- when the student marks an instalment as paid
- when the student accepts a quotation
- when the student ads a message to a task
- when the student completes a task
The student will also be notified:
- when an application changes its stage
- when a task is assigned to the student
- when an application is created for the student
- when you message the student
- when a task is due
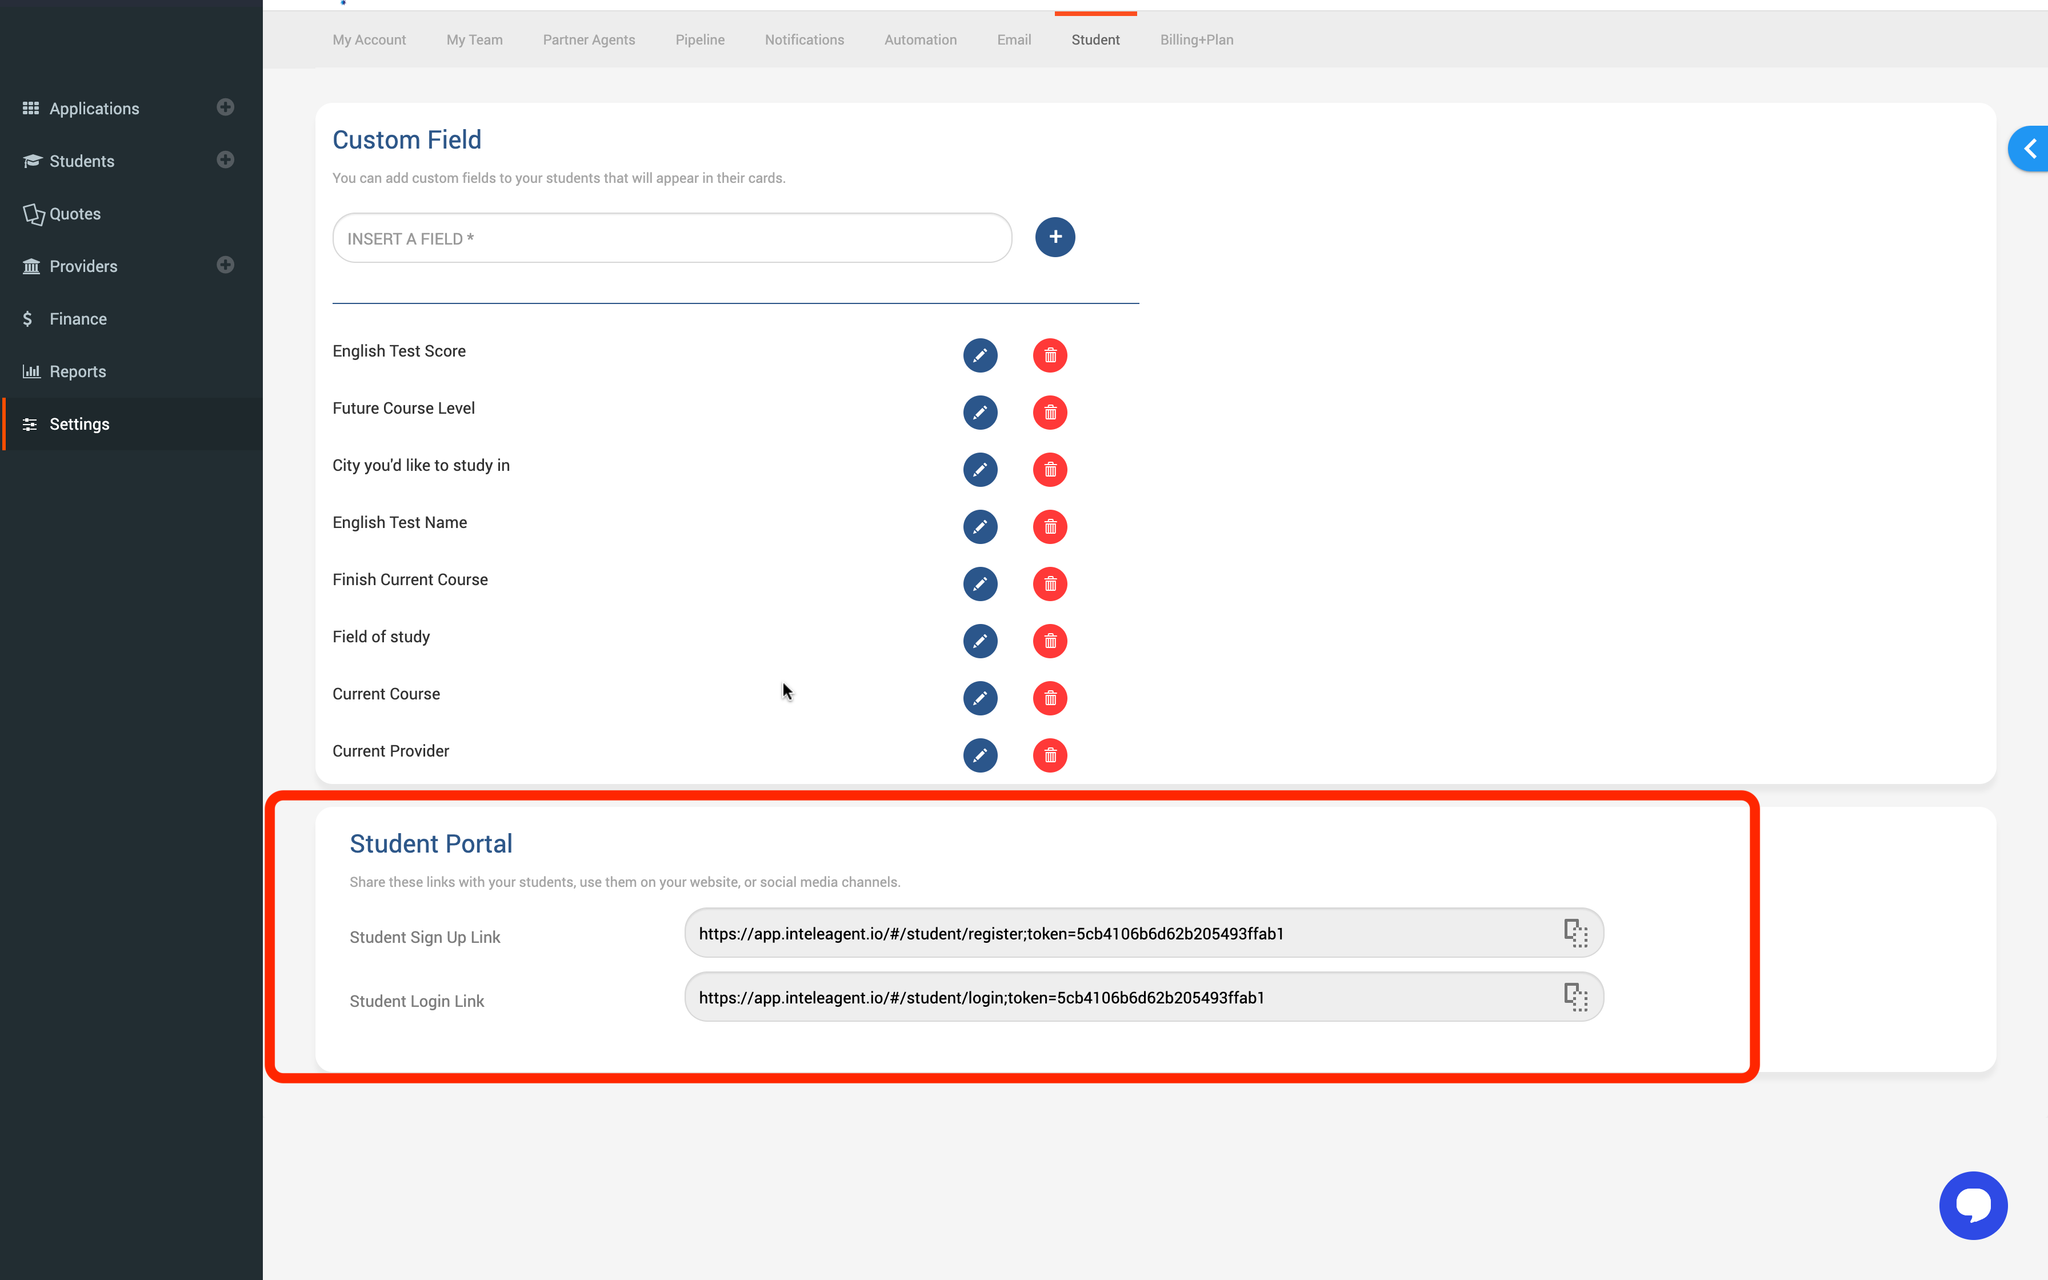
Student SIGNUP link
You can find the student signup link in your Settings > Student tab. You can copy and place the link in a button on your website to allow the student to signup and create his very own profile.
Student LOGIN link
The student login link can be found in your account's Settings > Student tab. You can copy the link and place it on your website so your students can login to their portal from your website.
Self-service applications
If you'd like to keep a database with all your courses on your website, and add the ability for the student to go through the application process himself, you can do that with Inteleagent.
Here's how you can do it:
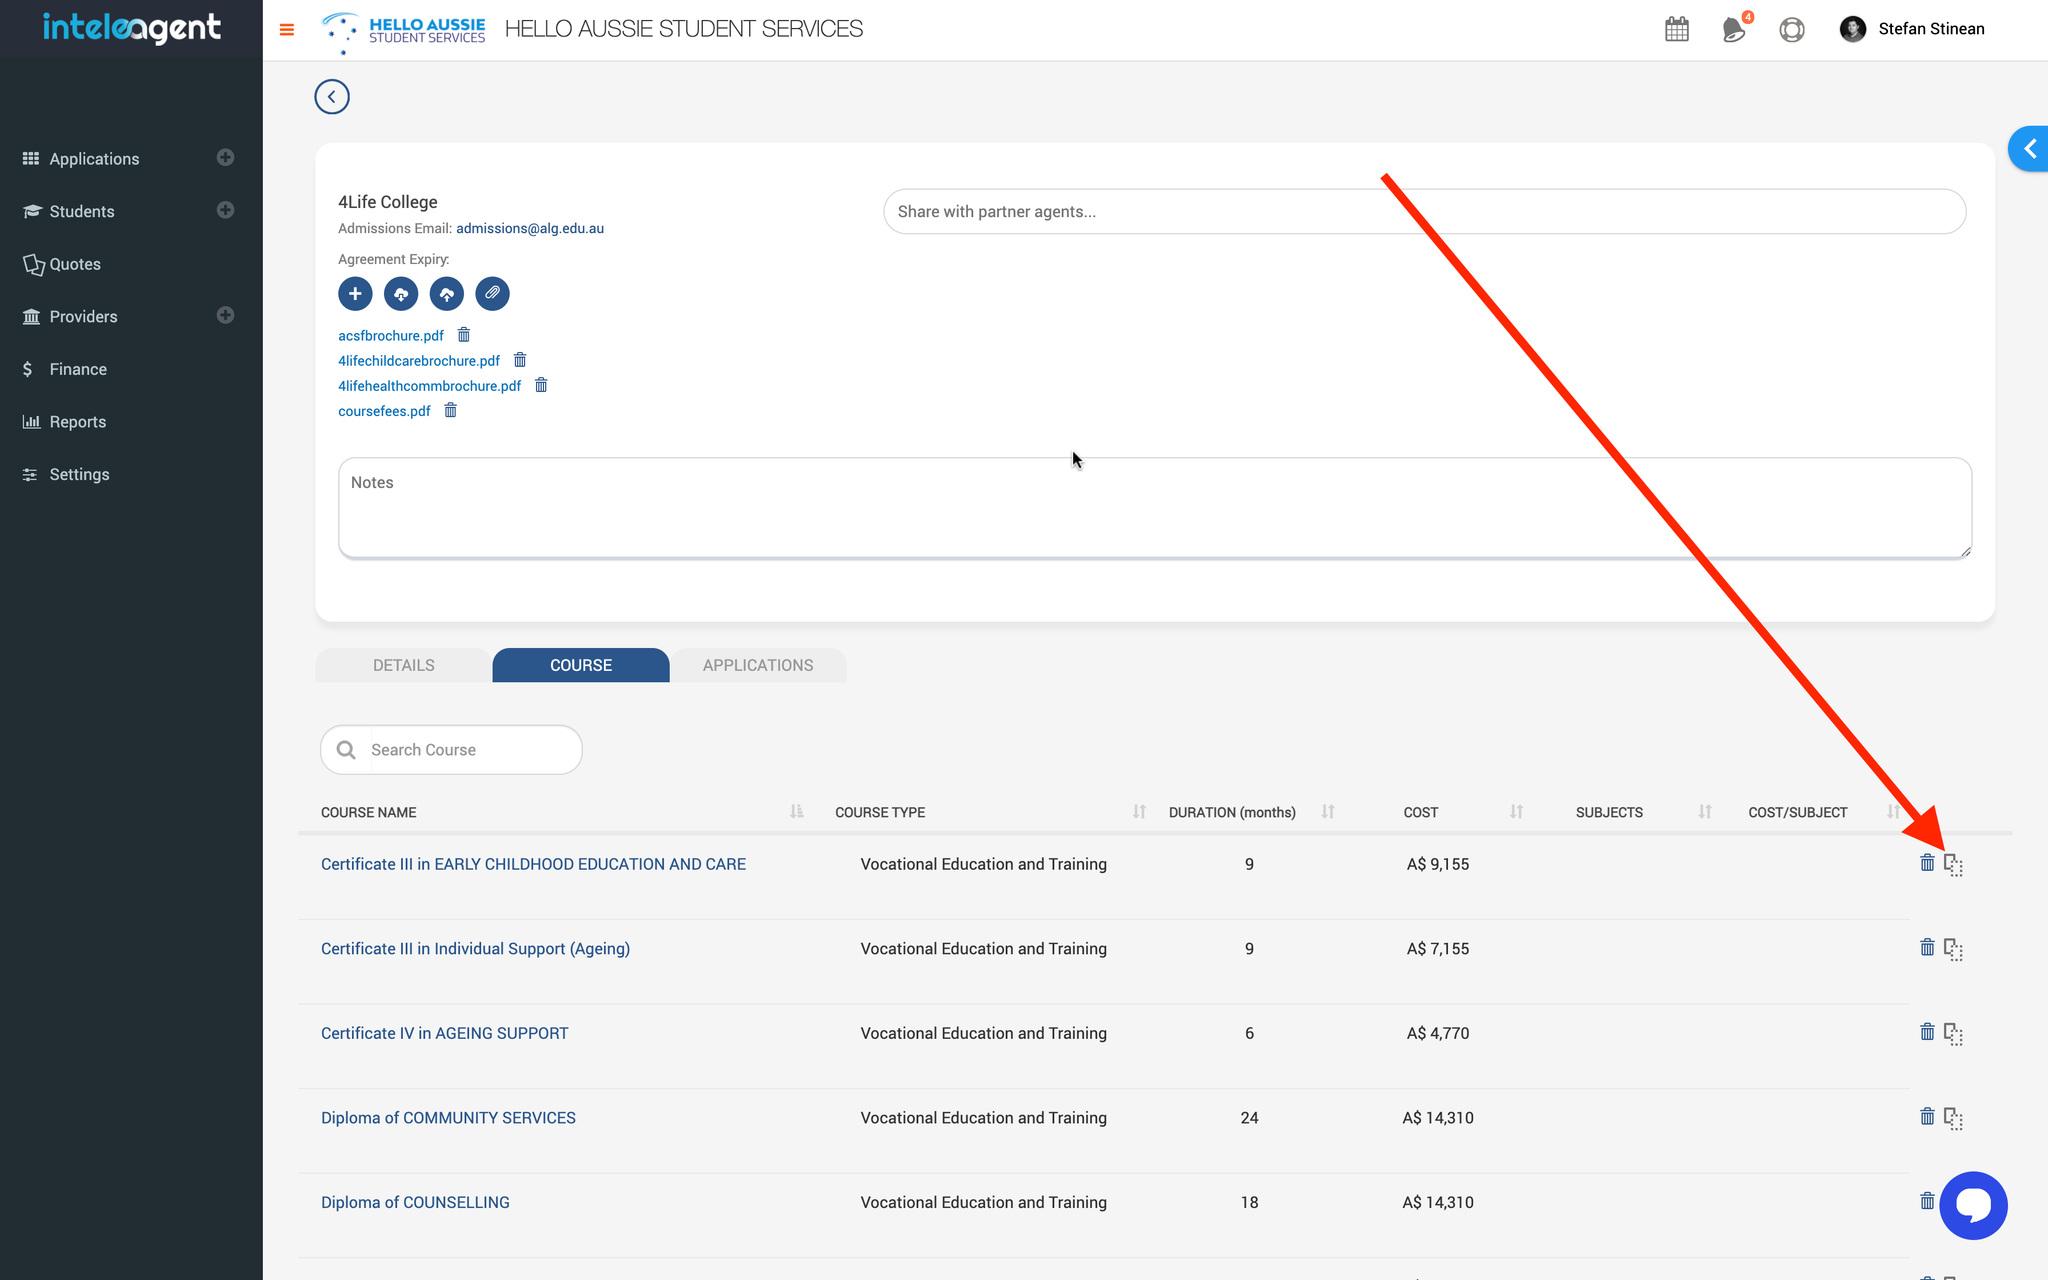
Each course you have in your Inteleagent CRM database has a unique link associated with it. Copy that link, and paste it in the APPLY NOW button for each course you list on your website. When the student clicks on the APPLY NOW button, the application flow will be triggered. The student will be asked the campus location where he would like to study the course at, and the preferred intake date. Make sure you have all this information in your education institution provider profile so the student is offered with the correct information. An application will automatically be created in your Inteleagent CRM account and you will be notified by the system via email.
